Introduction
We recently met with one of our customers looking to implement the electronic invoice service available within our Built-For-NetSuite PromoStandards SuiteApp. During the review of the exception handling process, we demonstrated several of the custom views that we provide as part of our bundled application solution that enables them to manage the inevitable invoice exceptions they are bound to encounter.
While this customer is pretty well-versed in building saved searches, they were surprised to see a ‘Print’ button appearing in the results of our searches. Since they wanted to know how we did this, we thought we’d share exactly how we accomplished this with a wider audience in this week’s blog.
The Details
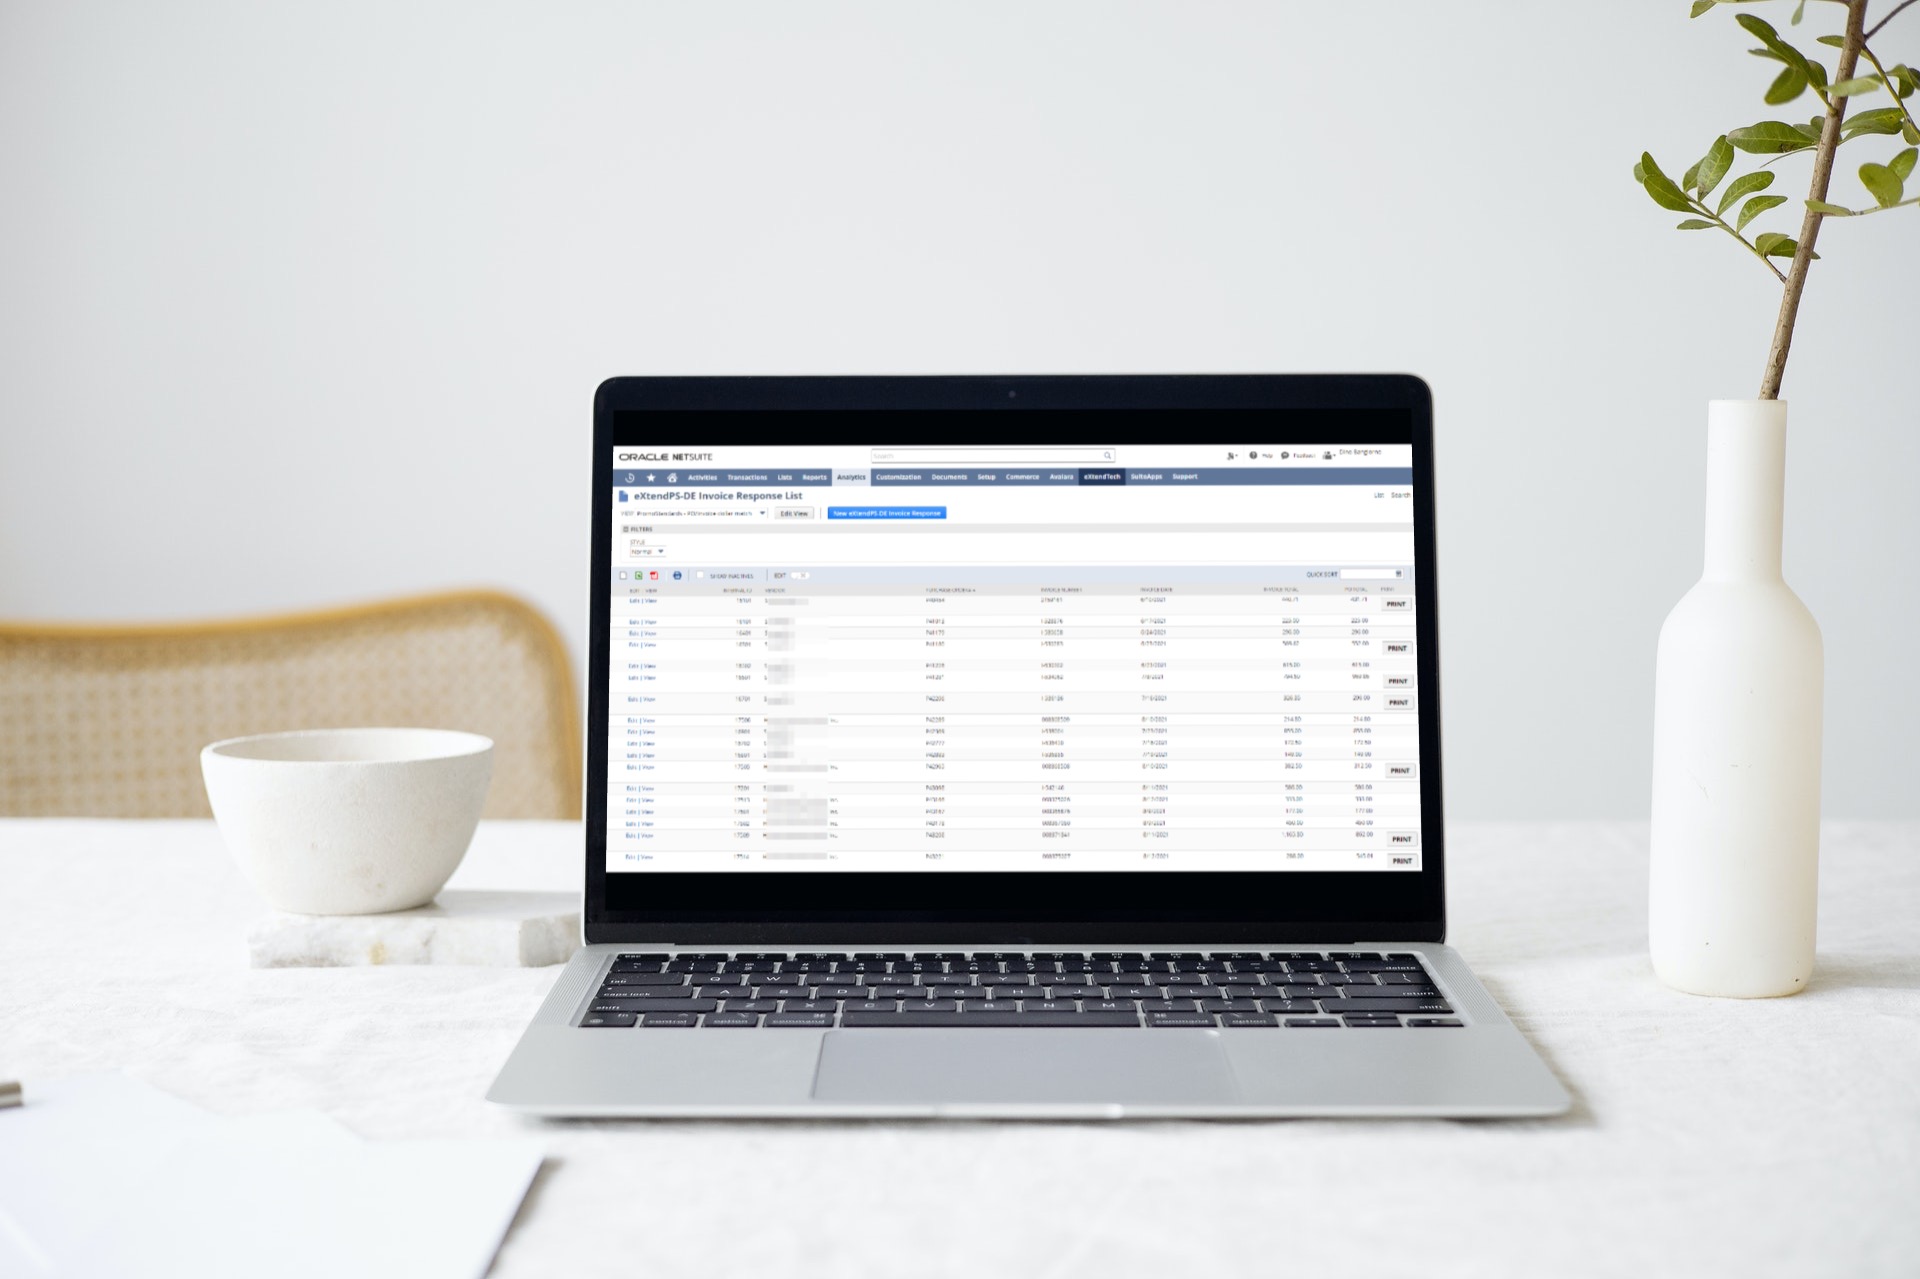
On a daily basis, this client leverages our SuiteApp to call-out for responses from all vendors that offer the invoice API service. The electronic invoice payload that is consumed from these vendors is captured in NetSuite as a custom record. Upon landing, our SuiteApp is able to immediately identify certain exceptions. For example, it can identify whether or not the purchase order number listed on the vendor’s invoice exists within NetSuite. The application is also able to identify and flag any responses that are credit memos rather than invoices. So the first view we built presents these mismatches for review and manual exception handling. Below is an example of the search results.

As a second step in the process, the SuiteApp executes an automated PO-to-Vendor Bill transformation based on a set of tolerance rules. In this client’s case, they have zero-tolerance rule applied. That means that in order for the automated PO-to-Vendor Bill transformation to take place, the total amount of the invoice must exactly match the total amount of the PO.
When these invoice response records cannot be automatically transformed, they will need to be reviewed and manually vouched. In another view, we added logic to conditionally present the [Print] button on records where the dollar amount of the invoice did not match the PO (as shown, below).

What does that [Print] button do anyway?
The purpose of the [Print] button on this custom record is to enable the user to render a user-friendly version of the invoice that was received electronically from the vendor. While the data contained within the record may be considered human-readable by some, it is certainly not user friendly. Below is an example of an invoice response record.

To enable users to able to handle exception cases and vouch from screen, we created a generic Advanced PDF/HTML template to render the aforementioned invoice response record in a generic vendor bill format. This makes the data from the record that was electronically received much easier for the users to read and also provides them with a consistent doument format.

By making this button available within the results of these saved searches/views, we save the users from having to open up each record individually, click ‘print’ in order to render the output. This not only saves time, but also reduces to the number of clicks or keystrokes required.
OK, so how did we do that?
Similar to the formula solution that we described in our last blog article, our [Print] button solution consists of a Formula (Text) type of field which contains the necessary HTML code to draw the clickable button while leveraging the CONCAT () function to link the Advanced PDF/HTML form we built specifically for use with this custom record.

Conclusion
Helping companies running NetSuite to improve efficiency, productivity and realize savings in terms of both time & money is something we take great pride in. It’s kind of our jam.
So if you are running NetSuite and are looking for ways to improve efficiencies within the platform, or maybe are just looking for some tips & tricks, please be sure to follow us on social media and/or connect with us.
Subscribe to Our Blog
Receive updates whenever a blog goes live!

